For any retailer or service provider that wishes to show their location, on their website, using Google Maps, they will want to use this plugin.
On our post, Install WordPress Part 2 we tell you how to install plugins, this WordPress Tutorial is how to set up the plugin.
Firstly go to the plugin tab and click on installed plugins. Follow down until you see Mappress Easy Google Maps. Click on the activate link. When its activated, click on the settings tab.
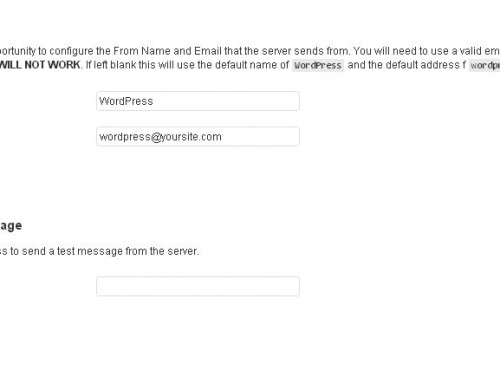
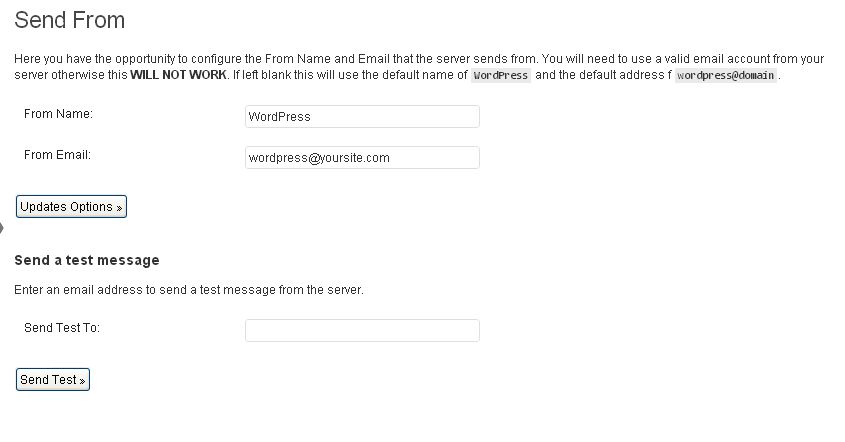
You are then brought to the settings page,

Do the boxs as below or to your own preferance.
Show a sample map on this page Click yes
Automatic map display Top of post Bottom of post No automatic display Where you would like your map appear on the page, but you can also have no automatic display, which I click, so I can put the code in myself,in the area that I want it shown, depending on the post or page I am using it on.
Post types Mark the post types where the MapPress Editor should be available: I leave both clicked.
Directions Inline (in your blog) Google None
“Select ‘Google’ if directions aren’t displaying properly in your theme” A link will show on the map for directions and when clicked on a new tab opens up to Google Maps where your readers can get directions.
Marker list This setting requires MapPress Pro. Show a list of markers under each map. Do not worry about it.
Map types Allow your readers to change the map type (street, satellite, or hybrid) leave it clicked.
Street View Display the street view control “peg man” Depends if you like it or not, I normally turn it off.
Scroll wheel zoom Enable zoom with the mouse scroll wheel I normally click yes.
Keyboard shortcuts Enable keyboard panning and zooming Leave it clicked.
Open first marker Automatically open the first marker when a map is displayed. leave it clicked.
Show traffic button Show a button for real-time traffic conditions I do not, leave it off.
Tooltips Show marker titles as a “tooltip” on mouse-over leave it on.
Overview map Show an overview map control in the bottom-right corner of the main map I leave it on, no real reason not to.
Automatically open the overview map As i click on the above, so this one is not clicked.
CSS Settings.

Map Alignment. I leave it at default.
Map Border this can improve the look of your map. If you just like a normal map, leave the style at none. If you would like a map with a shadow, like our test site, here, then change the map border style to, what ever you want to pick from the drop down. I picked solid and left it a 1 px, for the size of the border. The larger you make the number, the larger the border. I then went to change the colour to slightly suit my site. You click on the colour box,  On the outer ring, move the circle around to the nearest colour you want. When you get it, then move the circle in the centre box, until you get the colour you want. As you move it, you will notice the numbers are changing in the colour box. When you get the colour you want, just leave it for now.
Only change in the localization box is the country code. If you do not know yours, click on the country link, where you should be able to find your country code. I put ie, which is Ireland’s.
That is it, click on the save changes and your settings are now done. We will show you how to use it in posts later and when its done I will link it here,


Leave A Comment